Easy Picture Frames
Many of us have seen a print that we just had to have only to find that the cost for professional framing would be more than triple the price of the print. It is possible to make your own frames for a fraction of the price, and have an impressive end result. Attractive and unique picture frames can be made with basic tools, for some only a saw and a square are needed. It is much easier to cut mitered corners with a miter box or trimmer, if the fit is not exact the angles can be fine tuned by sanding them. Often a cause of poor fitting joints is that the two opposite side pieces are not exactly the same length. A disk sander is a very handy tool to have to adjust the angles to fit, there are plans to build one here. Miterless Frame
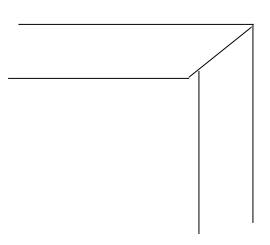
Make a base using 3/8" thick material as shown in fig.1, the inside dimensions should be standard photo sizes, 5 X 7, 8 X 10, 11 X 14, etc. For the top use strips 1/2" wider than base, use thicker and wider material for the corner blocks. Glue top pieces to the base as shown in Fig 2.
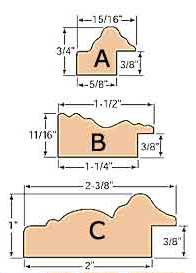
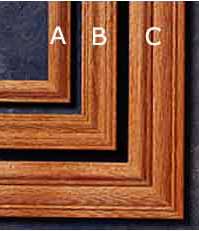
Traditional Molding Profiles Make Your Own Profiles Even if you don't have a router or a shaper you can use stock pieces of molding to build your own profiles.
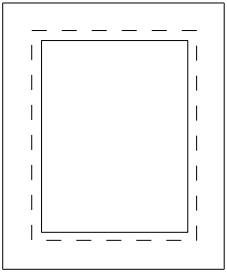
Cutting Miters Precise cuts are best made using a miter saw or trimmer, use a combination square to mark the cut position, you will have to extend the line from the inside of the rabbet to the outside of the frame. For additional strength on larger frames use a spline to reinforce the joint. There is a myth about compound angles being acceptable as long as the two angles add up to 90 degrees, you will get a square corner but it will look like this:
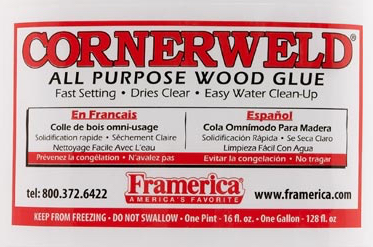
The recommended glue by most framers for miter joints is the Cornerweld brand.
|