![]()
Using a Jointer
|
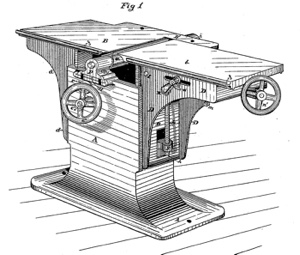
The jointer is a machine for
power planing stock on faces and edges. It is the first tool
used to straighten a board by truing one face and one edge,
followed by using a thickness planer to make the board an even
thickness, then the other edge is cut parallel with a table
saw.
|
The planing is done by a revolving cutterhead equipped with two or more knives. The size of a jointer is designated by the width, in inches, of the cutterhead. You also want a model with the longest bed possible. 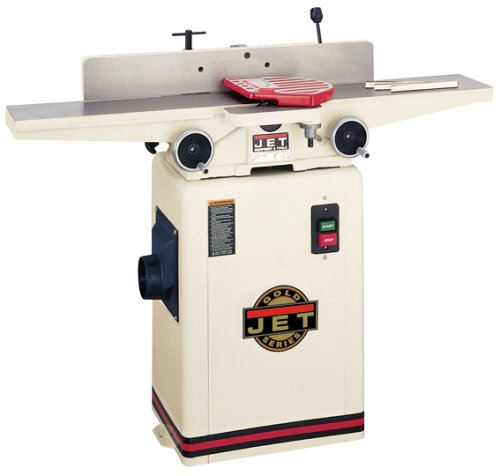
The cutterhead cuts toward the infeed table; therefore, to cut with the grain, you must place the piece with the grain running toward the infeed table. A piece is edged by feeding it through on edge with one of the faces held against the fence. A piece is surfaced by feeding it through flat with one of the edges against the fence. However, this operation should, if possible, be limited to straightening the face of the stock. The fence can be set at 90° to produce squared faces and edges, or at any desired angle to produce beveled edges. The table consists of two parts on either side of the cutterhead. The stock is started on the infeed table and fed past the cutterhead onto the outfeed table. The surface of the outfeed table must be exactly level with the highest point reached by the knife edges. The surface of the infeed table is depressed below the surface of the outfeed table an amount equal to the desired depth of cut. The usual depth of cut is about 1/16 inch. The level of the outfeed table must be frequently checked to ensure the surface is exactly even with the highest point reached by the knife edges. If the outfeed table is too high, the cut will become progressively more shallow as the piece is fed through. If the outfeed table is too low, the piece will drop downward as its end leaves the infeed table, and the cut for the last inch or so will be too deep, causing what is referred to as snipe.  With a straight edge check that the infeed and outfeed tables are coplanar to each other. To set the outfeed table to the correct height, first feed a piece of waste stock past the cutterhead until a few inches of it lie on the outfeed table. Apply downward pressure only on the infeed table. Then, stop the machine and look under the outfeed end of the piece. If the outfeed table is too low, there will be a space between the surface of the table and the lower face of the piece. Raise the outfeed table until this space is eliminated. If no space appears, lower the outfeed table until a space does appear. Now, run the stock back through the machine. If there is still a space, raise the table just enough to eliminate it. Then as a check, edge join two pieces of stock
and check for gaps by placing the jointed edges together.
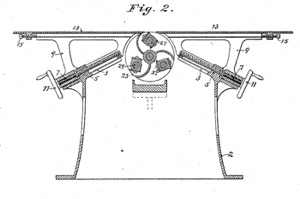
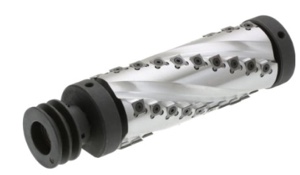
The diagram above shows how the infeed table, knife and outfeed table should be set to make a straight cut, whether pressure is put on the infeed table or the outfeed table as the material is fed through will not have any effect. Parallelogram vrs. Dovetail A regular jointer table slides up and down on dovetail ways, think of it as one wedge sliding on top of another. If the table is not machined perfectly there is little you can do to put the tables back in parallel other than placing shims in between the wedges to lift up one side or the other. A parallelogram table sits on eccentric bushings that can be turned to raise or lower each table at any of four points giving you much better adjustment abilities if things aren't machined right to begin with. Spiral Cutter Head
Spiral cutter heads are now available, each cutter can be rotated four times if edge becomes dull or chipped. Advantages are better finish on figured grain and much quieter operation of machine. Sight down the board to determine the two low corners, mark these with an X, run the board part-way through from one end with the X down, turn end for end and run it part-way through with other X down. Sight the board and repeat until board appears to be straight, then run a pass all the way through. Working With A Cupped Board When you are working with a wide cupped board there will be a lot of waste making the end product very thin as shown in fig. A.
It helps to rip the board in half first as shown in fig. B, flatten each half, true up the edges and glue the two parts together again, often the joint will be practically invisible.The resulting board will be a bit narrower but much thicker, just run board through your planer to flatten top. Attempting to square a board only using a jointer is like a dog chasing it's tail, it is practically impossible.
|